Creating hatches
|
Class |
Hatch |
|
Command in
command line |
HATCH |
|
Properties |
-
Entities within the Hatch Layer LineType LineWidth |
Many drawing applications use process named hatching to
fill a space with some pattern. Pattern or color are used to differentiate
project components or to visualize the material the object consists of.
Prior to creation of a new hatch, it is necessary to
prepare all objects (polylines or other objects) so you could fill their closed
ares with a pattern.
You can create a new hatch in your project on the
following way:
A. Click
on the icon ![]() in the Draw toolbar
in the Draw toolbar
or
B. Choose the menu option Draw
-> Hatch
or
C. Type command HATCH in the command line and
press <Enter>
then choose all entities you want to cover with your hatch (click on one or
more objects) and press <Enter>.
then press <Enter> and choose the pattern name for closed areas, among
whom the SOLID pattern fully colors the area in color of the chosen Layer.
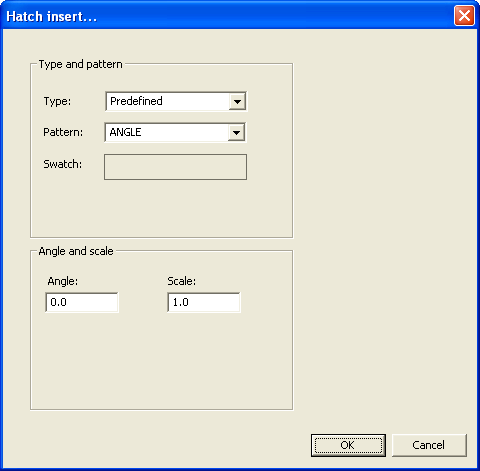
Hatch type is
Predefined in this version, while programming of other types is in progress.
Angle is the
rotation angle, while Scale is scaling (increasing/decreasing) the basic element
of the chosen pattern.
>> Notice
that the color of the area frame line and the color of filling the area do not
have to be the same, they can even be in different layers and be shown or
hidden if needed.
>> Notice
that you can move the objects the hatch was created by, so the hatch and the
objects do not have to stay in original position.
>> Also
notice that during creation of a hatch in unclosed areas (polylines), BabaCAD
closes the area by connecting end points and fills it with the chosen pattern.
The example of
hatch with various pattenrs is given in the picture below.